Showing posts with label art. Show all posts
Monday, March 21, 2016
Five Reasons for Making Crafts with ELLs
For six weeks I filled in for the ELL teacher who was on a maternity leave. During that time we had a visit from the Mariner Moose--the mascot from our local baseball team. One of the paraprofessionals created a bulletin board to celebrate our local team and my small groups wanted to participate. It was an excellent use of our time.
Here are five reasons why I would take a break from the adopted curriculum to make crafts with my ELL students.
1. While having students follow the directions to make the craft, I can use vocabulary that they will need in their general education classes. For the very new to English, just using colors and shapes in context was good practice.
2. Crafts can easily be created for a variety of content. When teaching about a particular habitat, creating a model together and discussing it requires more involvement than simply looking at pictures.
3. I wanted my students to practice navigating social situations like asking appropriately for materials and sharing. Practicing in a small group gives them confidence in the larger classroom.
4. I found myself assessing students other skills besides language. I discovered one of my students struggled with cutting paper as well as writing with a pencil. Not all of his learning difficulties seem to be ELL.
5. Creating stuff is often more engaging than the highly scripted materials we have adopted. I truly believe art is an underutilized study skill.
Friday, December 4, 2015
Ornament Grid Picture
I have been creating a series of seasonal grid pictures like the one pictured above. Each graphic is pictured on three sizes of grid paper: 1 inch, 1/2 inch, and 1/4 inch. Students can color the squares in a pattern, or use the grid to create patterns within the squares.
(I also find this activity a good stress-management for adults.)
To download Ornament Grid Pictures, click here.
Happy Friday!
Monday, July 13, 2015
Art Projects for the Classroom
One of the subjects I never let go of despite pressure from above is art. Our school is fortunate to have an Art Walk every year and we still have art on the report card. I don't feel guilty for including this in my weekly plans.
Once a week I teach an art lesson. I often integrate it with something else we are learning. For example, the piece shown above teaches students about rotational symmetry. Click here for this lesson.
Next, I give time during the week to work on the projects. I have a two drawer filing cabinet with hanging folders and students are responsible for maintaining their own art portfolios. Some years I have made filing art in portfolios a class job, but I found that if students have responsibility for filing their own work fewer pieces go missing without names.
Below is my Pinterest board with art projects for school. I use this board in class with my students. If you have favorite art projects you do with upper elementary students, I would love to read about them.
Follow Mary Bauer's board art projects for school on Pinterest.
Monday, March 23, 2015
Rotational Symmetry: An Art Project
I've been creating several art lessons that integrate math. For this one, I wanted my students to create a design using rotational symmetry. First I cut a nine inch square and divided it by folding into eighths. I traced on each line forming the guide lines for the design.
It's hard to see in the picture, but I drew small marks along each line one inch apart starting from the center. Below you will see two finished projects. I encouraged the students to begin their design in the center and rotate the square to make each section the same.To see some of my other art/math projects, click either tag at the bottom of this post.
Monday, January 12, 2015
Quilt Square Project #3
If you are a frequent reader, you know I have been creating some quilt square projects for my students to use their knowledge of geometry, measurement, and fractions in a hands on way.
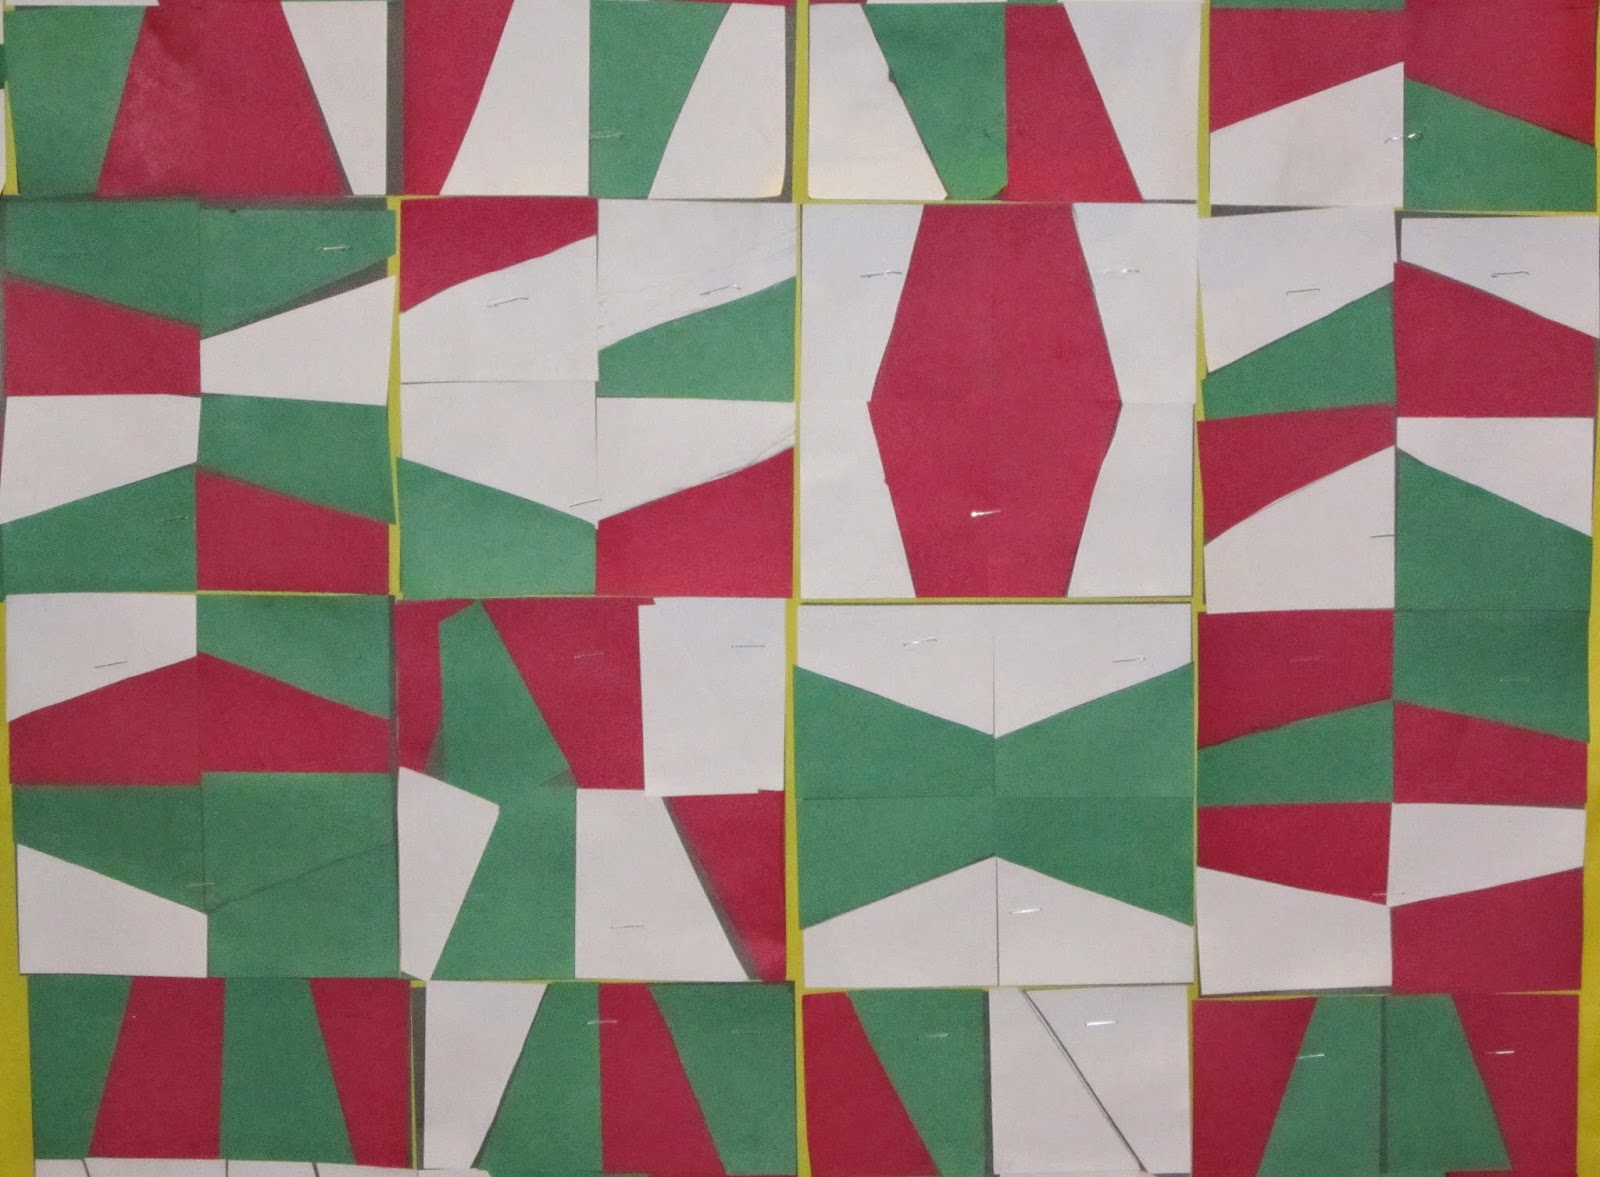
For this project, I modified the trapezoid project we did last year. This time I gave my students a 6 X 6 inch square and four 3 X 3 inch squares. I showed them how to cut diagonal lines on the 3 X 3 squares that were not corner to corner. The resulting shapes are trapezoids. We drew some congruent trapezoids with the remaining squares and then reassembled on the 6 X 6 background.
If you missed Quilt Square Project #1, click here.
If you missed Quilt Square Project #2, click here.
I hope you enjoy these lessons with your students.
Monday, December 29, 2014
Quilt Square Project #2
A couple of weeks ago I shared a paper quilt square project I did with my students. I want to give them some art projects that use the skills we are learning in measurement, fractions and geometry.
For this project I gave them more colors and sizes of right triangles. The only rule that I gave them was they must use just right triangles. They could combine them to create other shapes, but that was the basic shape to start with.
Here is our class display. (We keep adding to it.)
Have you visited Math Spies? This post right here introduces Quilt Square Codes. Students use the fraction of each color to solve a code word.
Monday, December 15, 2014
Quilt Square Project #1
Over the summer I created a series of quilt square projects for my fourth graders. I want them to have some hands on experiences with measuring, geometry and fractions. These activities require them to measure, cut and see relationships between the geometric shapes we study in math class.
For this first project, I gave them four three inch squares and a six inch background. I chose our school colors: teal and purple.
I showed them how to fold and cut the squares into right triangles and recombine them into squares. They had to completely cover the background. I had them create several combinations and show them on the document camera. I stapled the resulting squares on the back wall of our classroom.
Here are some of the vocabulary words that naturally came up in this activity: right triangle, symmetry, parallelogram, square, and quadrilateral.
I'm in the process of photographing and writing up the other projects. I promise I will share them when I am done.
Friday, December 20, 2013
Trapezoid Art Project
My students are struggling with identifying and classifying quadrilaterals. I am developing stations and lessons that give them more hands-on experience with them. I want them to learn the vocabulary by using it in different activities. Here is a lesson I taught about a month ago.
I cut twelve 3-inch squares for each student and gave each a 9X12 background. As you can tell from the pictures, I chose fall colors for this activity, but you could easily choose a different color scheme for a different time of year.
I had them start with one square and we divided it into two trapezoids. Then I showed them how to cut two more squares into congruent shapes so they could complete one row of the completed project.
Next we arranged the trapezoids so that they would form that first row. We talked about where the 90-degree angles needed to be arranged so the top and bottom of the row would continue to be parallel. This was the most difficult part for some students.
The resulting shapes are rectangles, parallelograms and Isosceles trapezoids. Once the students could complete a row, I let them glue it to the background paper and get three more squares. They needed to show me the second completed row before I would let them glue it and then I could tell they were ready to work on their own.
All but one of my students successfully completed this activity. They also had a chance to use their geometry vocabulary in a hands-on activity.
This activity is a part of my Classifying Quadrilaterals unit in my Teachers Pay Teachers store.


Friday, July 19, 2013
Name Patterning Art
Click here for the Free Printable Grid we used to complete this activity.
I did this activity with my fourth graders this past June, but it turned out so well, I think I will use it at the beginning of this school year and post them on a bulletin board.
First, I gave my students the blank grid and had them write their name as many times as it takes beginning at the upper left corner and ending at the bottom right.
Students create a different design for each of the letters in their name. Each name will create a different pattern based on the number of letters and any that repeat.
I hope you enjoy this activity with your students.


Subscribe to:
Posts (Atom)